A full-scale productivity and project management solution, ClickUp is a great tool for planning, organizing, and optimizing projects of any size, scope, or scale.
While ClickUp has more than enough functionality for most modern teams, its true power comes from connecting to other mission-critical systems like Slack and other third-party app integrations. When you integrate ClickUp and Slack, you can increase productivity by 30% through easier, more seamless task creation, data management, various automations, and more.
Not working with ClickUp yet? Try ClickUp free.
What Can You Achieve by Integrating Slack into ClickUp?
The Slack workspace provides an instant messaging service that is meant to connect both local and remote employees. With the ability to create channels for specific lines of communication, you’ll be able to organize discussions and track conversations without having to wade through endless email or SMS threads. For collaborative teams that need to communicate with one another on a day-to-day basis, Slack really is a timesaver.
When directly integrated with ClickUp, your entire team will benefit from added functionality and increased productivity. Specifically, the ClickUp Slack integration makes it possible to:
- Receive notifications regarding ClickUp tasks within chosen Slack channels.
- Create ClickUp tasks from Slack messages.
- Attach a Slack message as a comment to an existing task within ClickUp.
- Update the details of ClickUp tasks without leaving the Slack platform.
Before your team can start taking advantage of these new features and enjoying the benefits; however, you must first connect the two apps together.
Learn more about ClickUp — Read our complete review.
How to Integrate ClickUp and Slack
In most cases, ClickUp and Slack can be integrated in a matter of minutes. Before getting started, take a moment to make sure you have access to all of the necessary accounts, including:
- The original email address that was used to sign up for ClickUp and Slack.
- Your or your company’s Clickup account.
- Your or your company’s Slack account.
Once these are in order and you’ve verified your access, you can proceed with the first step of the ClickUp and Slack integration. Note that only workspace owners and admins are able to enable, disable, and manage integrations.
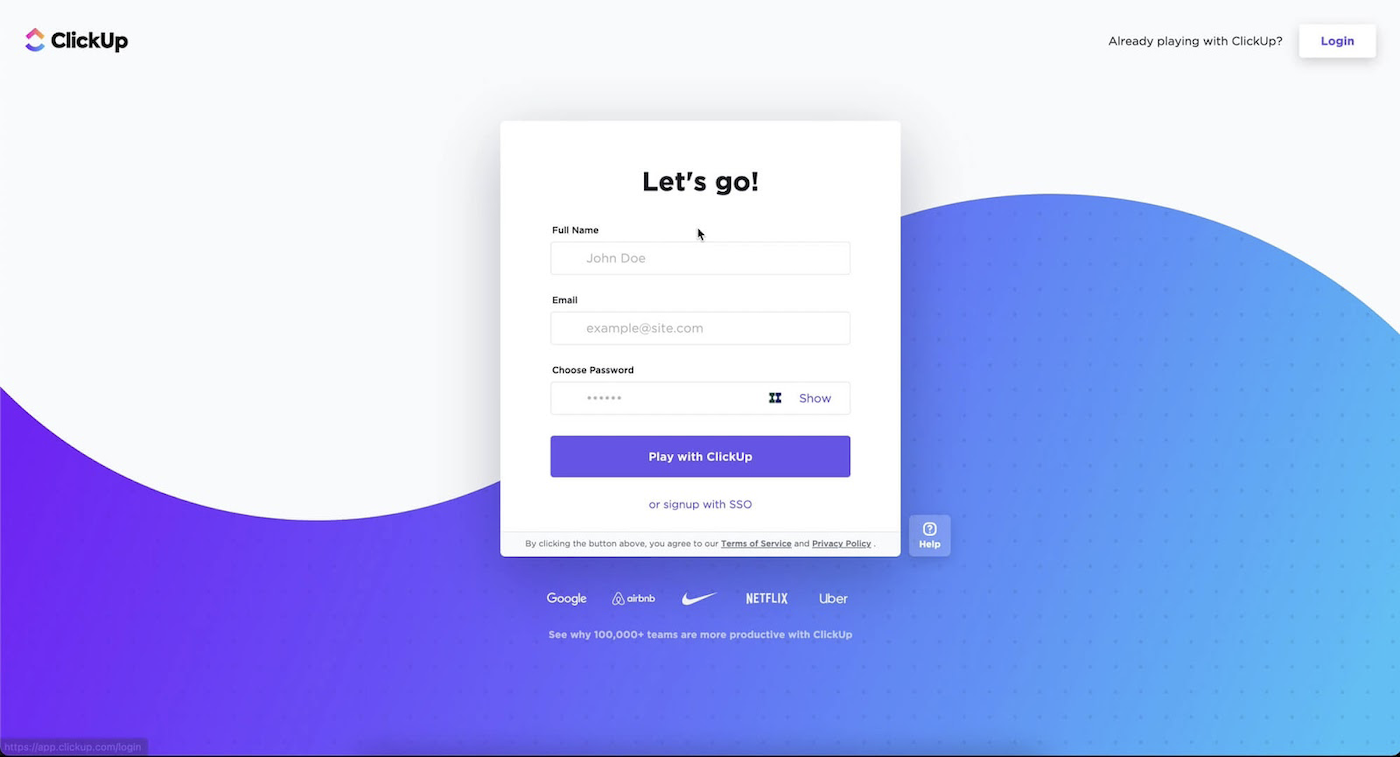
- Download the latest version of ClickUp on your PC or smartphone, install it, and log in to your ClickUp account.

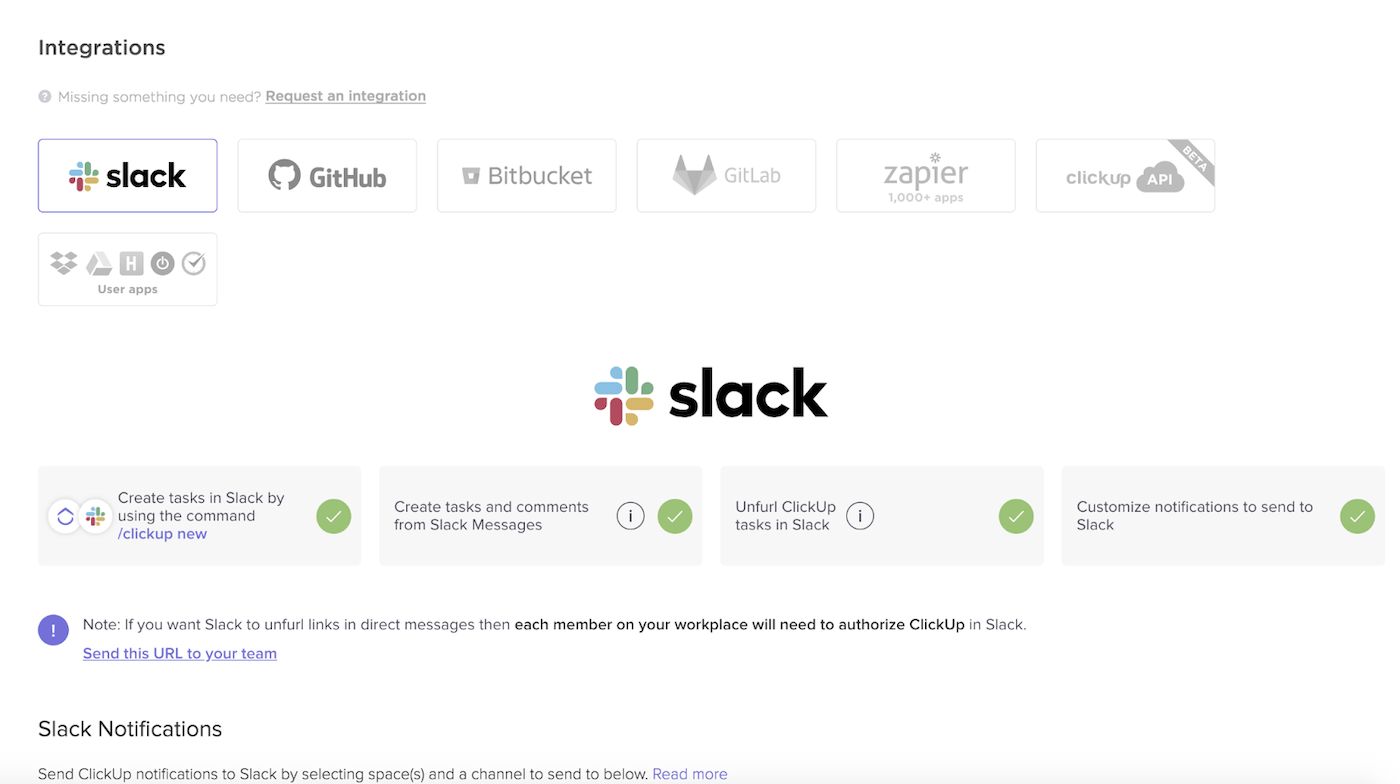
If you don’t have a ClickUp account, you can make one before moving on to the next step. - After your credentials have been approved or verified and the ClickUp interface appears, click on the Settings menu and select Integrations.

- To connect Slack and ClickUp, highlight the Slack app from the dropdown list of available integrations and click Add to Slack.

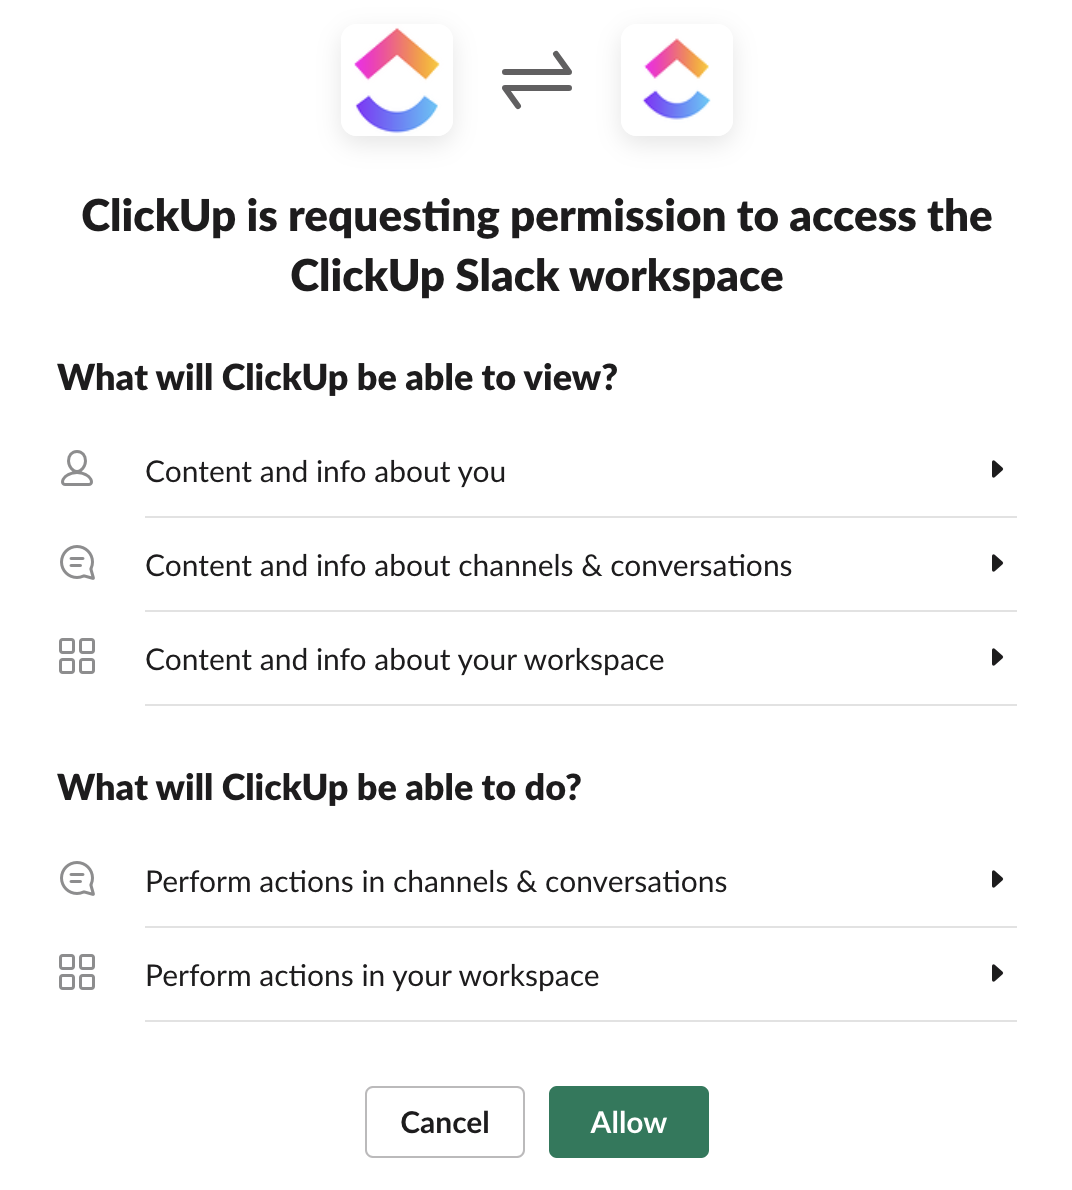
- After reading and reviewing the list of features on the pop-window, click Allow to confirm, and finalize the connection between ClickUp and Slack.

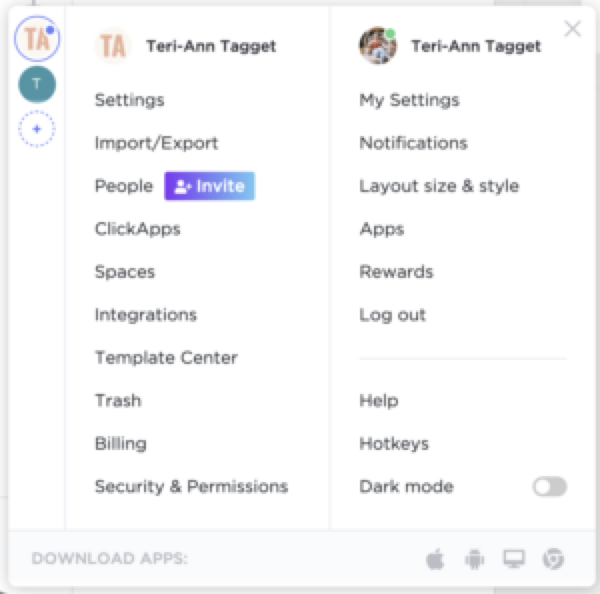
- To authorize Slack notifications, each user must click on their avatar in the lower-left corner of their screen, click My Settings, select Slack Notifications, click + Add Notification, and follow the prompts to set up their individual notifications.


Now that the ClickUp integration is complete and the Slack connection has been configured, it’s time to begin using the new features that are available to you and your team.
Using ClickUp Within Slack
The ClickUp Slack integration is available for every ClickUp subscription plan, including its free service. Once the two apps are fully installed and linked to one another, you’ll be able to perform various ClickUp actions from the familiar and intuitive Slack interface.
Creating new ClickUp tasks from the Slack feed
You can create tasks within ClickUp directly from your regular Slack feed. By typing /clickup new, you’ll instantly create a brand new task and load the task creator in Slack.
Once it’s created, you can modify the new task as necessary. This includes giving it a unique name, adding an informative description, choosing its location, and adding assignees as necessary. When the new task is ready, click Create to finalize the task and add it to your ClickUp workspace.
Creating new ClickUp tasks via Slack messages
Tasks can be created with their description auto-populated from Slack conversations and messages. Start by hovering over your chosen message and click the ellipses (…) button to view the available message shortcuts.
Next, click Create a task to load the ClickUp Bot. Follow the on-screen prompts to finalize the task and add it to your ClickUp workspace.
Attaching Slack messages to ClickUp tasks
Slack messages can be attached to tasks and displayed as ClickUp comments for easy accessibility. To achieve this, hover over your chosen message, and click the ellipses (…) button to view available message shortcuts.
From here, choose Attach comment and type your message into the comment box. If necessary, you can also add an assignee at this point, too. When you’re finished, click Add to finalize the comment and add it to your chosen message.
Once it’s finalized, the new message will appear as a quote within your chosen ClickUp comment. Remember, you can tag individual teammates with the @ command and even include URLs to external pages as needed.
Unfurling ClickUp tasks within Slack
Task links that are posted in your Slack channel will immediately provide a detailed view through a process known as unfurling. Note that task links posted via Slack notification will not unfurl.
An unfurled task displays a myriad of different details, including:
- Name of the task creator.
- Date of task creation.
- Title of the task.
- Preview or snippet of the task’s description.
- Current status of the task.
- Names of any assignees connected to the task.
- Task prioritization.
- Task tags.
- Name of the parent folder and list for the task.
- Subtasks connected to the task.
- Name of the user who commented.
- The time and date of each comment.
These tasks can also be manipulated through the Slack platform. Available actions include:
- View task.
- Change status.
- Change assignee.
- Change priority.
- Change due date.
- Change tags.
- Add comment.
Now that you know how to view the specific details of a ClickUp task and perform various actions without leaving Slack, your team can switch their focus from multiple apps and services to using the Slack platform almost exclusively.
Enabling, disabling, and filtering notifications
You can control which of ClickUp’s notifications are sent to your Slack account. Note that this feature is only available to workspace owners and admins.
To enable a specific notification, make sure the checkbox next to that notification type is ticked. If you want to disable a specific notification, make sure the checkbox is unticked. Notification types you can enable or disable include:
- Task Created.
- Status Changed.
- New Comment.
- New Attachment.
- Assignees Changed.
- When I am mentioned.
You can also choose whether or not to include private tasks, lists, and folders in your custom notification settings. Once you’re satisfied, click the Save button to confirm your choices, and begin filtering notifications accordingly.
Disabling the Slack integration
If for some reason you need to disable the ClickUp Slack integration, you can do so by clicking your avatar in the lower-left corner of the ClickUp interface and selecting Integrations. Next, scroll down and click Remove Slack integration to disable the link. This action can only be performed by workspace owners and admins.
Bolstering Team Collaboration With ClickUp and Slack
While both utilities have plenty to offer on their own, ClickUp and Slack are highly complementary to one another. Integrating the two gives you all of the instant messaging capabilities of Slack alongside the task and data management prowess of ClickUp, which lets you drive day-to-day operations, streamline daily workflows, and track productivity.
Featured Partners: Project Management Software
ClickUp’s seamless integration is just one example of how project management systems can be connected to Slack’s category-leading collaboration tools. If you’re interested in other options, take a look at some of these PM software options, which offer robust integrations ad well.